
LoomBox

Pinkxi’s amazed by the colourful tiny rubber bands found all over floor recently…they are in the playgrounds, escalators, restaurants, trains, shopping centres etc etc…..Gosh, the world must be raining these rubber bands, exclaims Pinkxi. BBM figured perhaps it’s time to get Pinkxi acquainted with the craft of weaving in its timeless form and being the recycling supermonster that he is, he’d come up with this LoomBox! Now ain’t that neat!
What you need are:
- sturdy medium sized cardboard box (a 40x20x18cm box was used for this but you may want something wider)
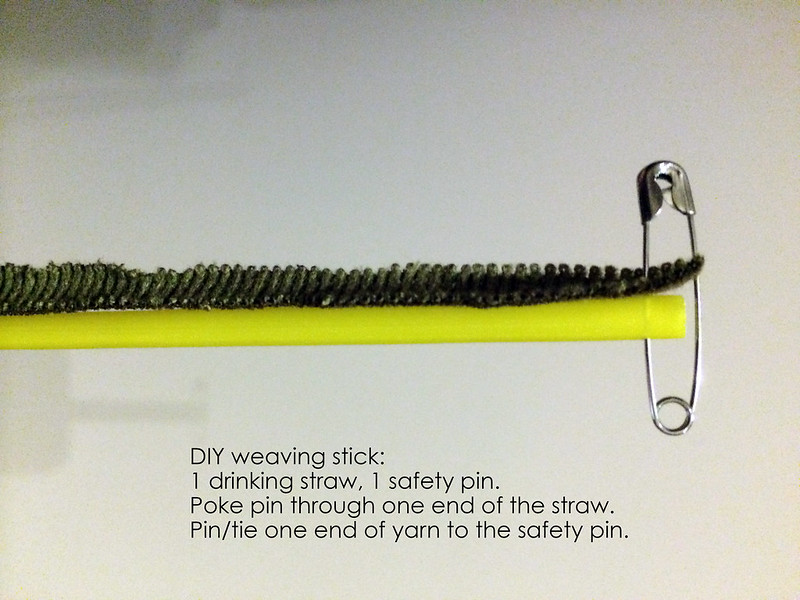
- long, sturdy drinking straw (or you can simply tie a couple together)
- sticky tape
- ice cream sticks
- fabric strips/ tapes/ coloured raffia/ yarn
- crayons and markers
- scissors/cutters
Instructions:
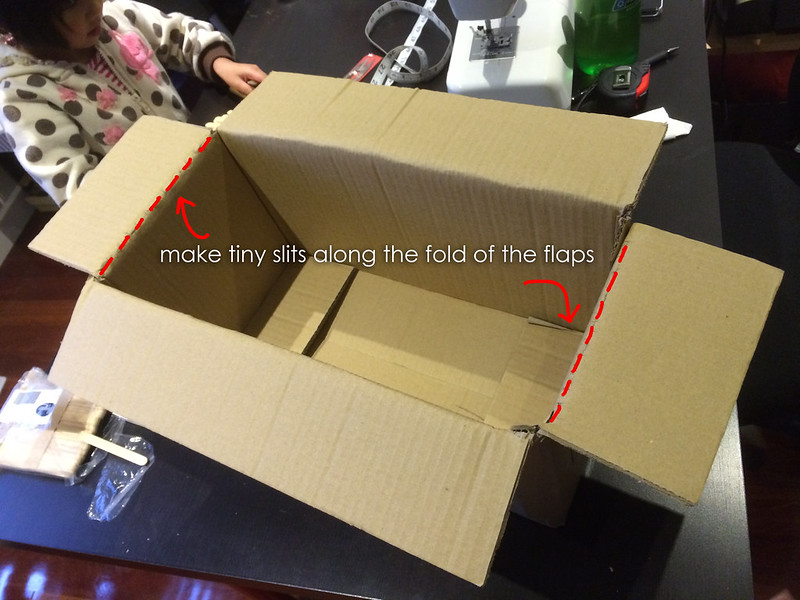
- Fold down the flaps of the box and select 2 sides to place the ice cream sticks.
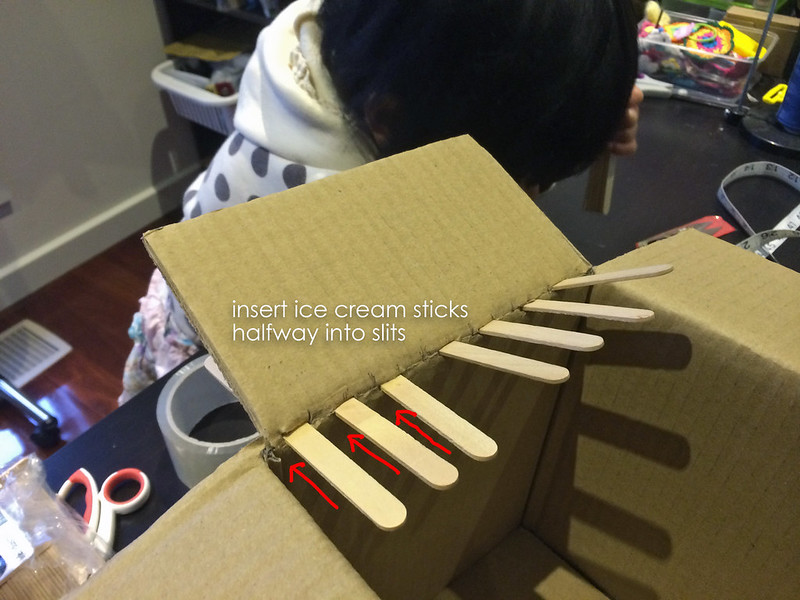
- Make small slits along the fold of the flaps and insert the ice cream sticks halfway through the slits.
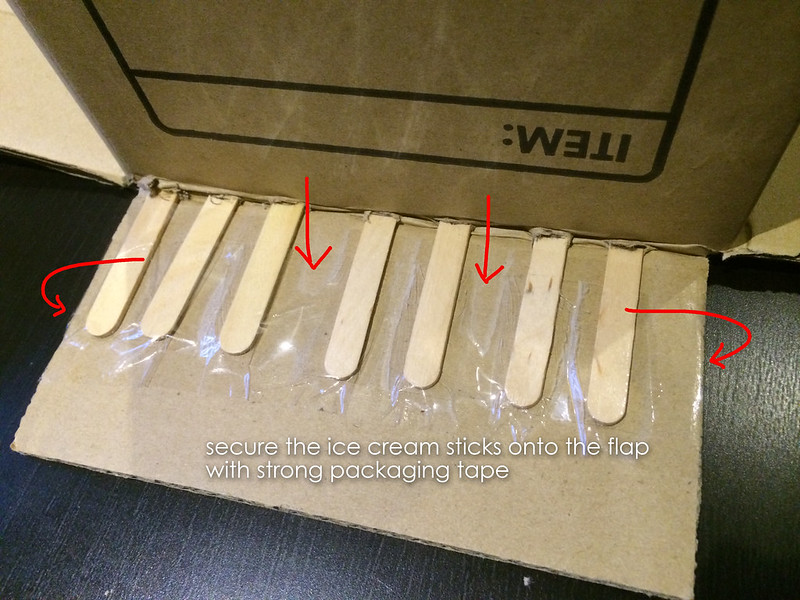
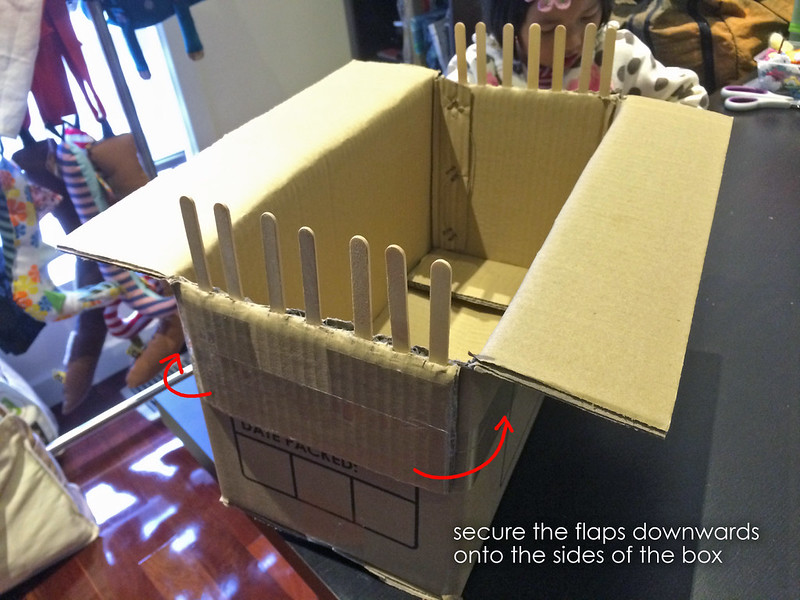
- Secure the bottom end of the sticks with sticky tape, fold the flaps down and tape them to the sides of the box.
- Let kiddo decorate her loom and while she is at it, make the weaving stick by piercing a safety pin through one end of the straw. Then pierce through one end of the fabric strip with the safety pin, this will hold the strip in place while the weaving is done.
- You can use/recycle fabric scraps by cutting them up into strips/tapes.
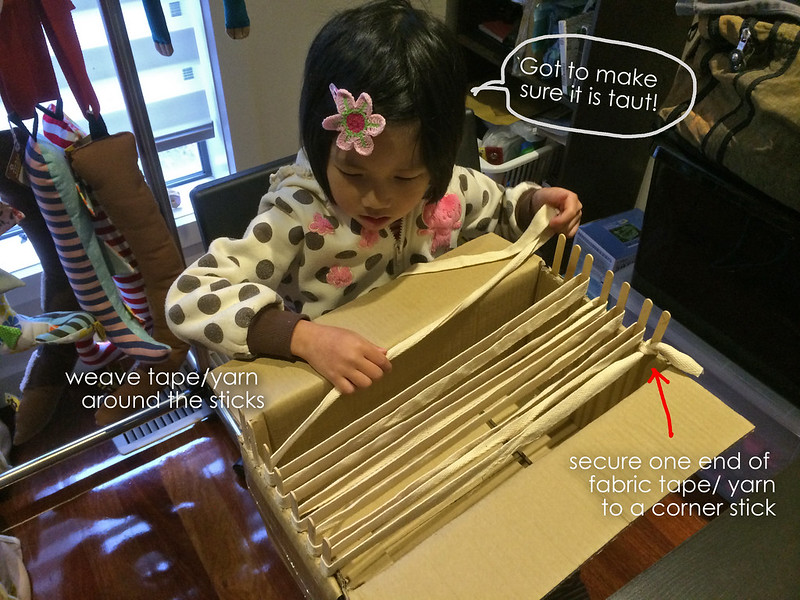
- Tie one end of a long piece of fabric strips/ tapes/ coloured raffia/ yarn to the ice cream stick at the corner of the box. Then loop it round the other ice cream sticks to create the backing for the weaving. Make sure that the backing is as taut as possible.
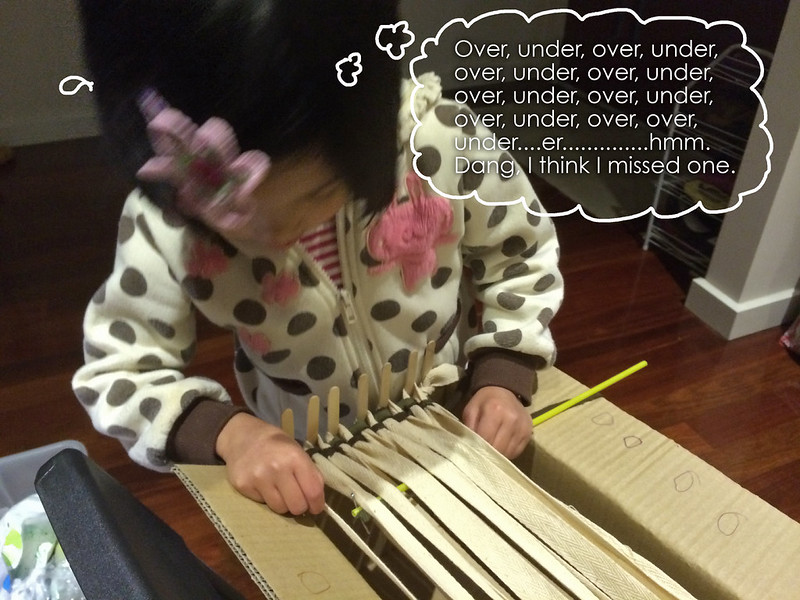
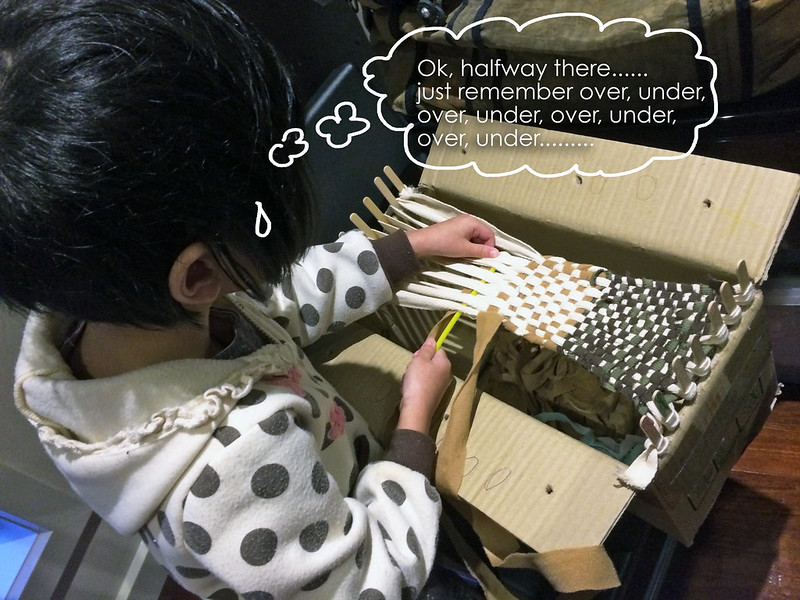
- It can be quite daunting so getting kiddo to memorise the need to go “over, under, over, under and turn at the end” may help.
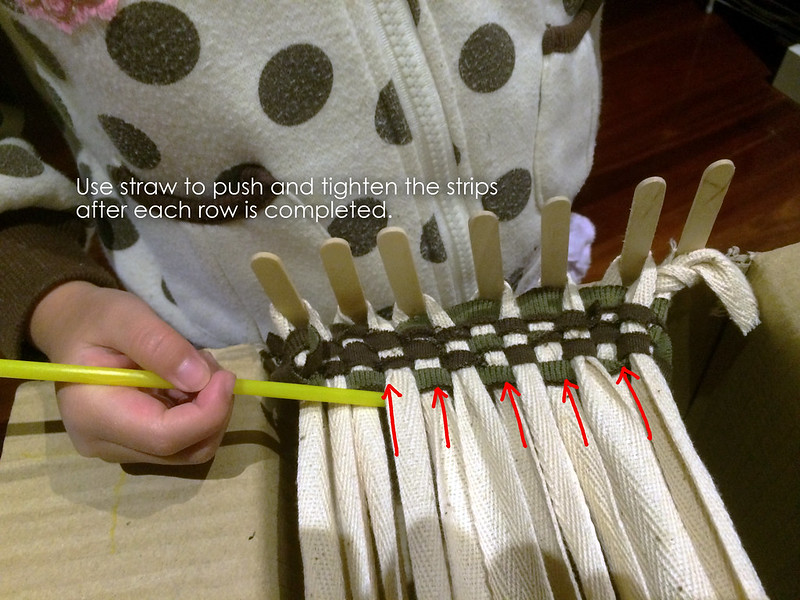
- Use the other end of the weaving stick to push and tighten every row.
- Poke some holes on the other 2 flaps. This will allow kiddo to place the weaving stick on the side of the box-a-loom (and not have it dangle) when a short break is required.
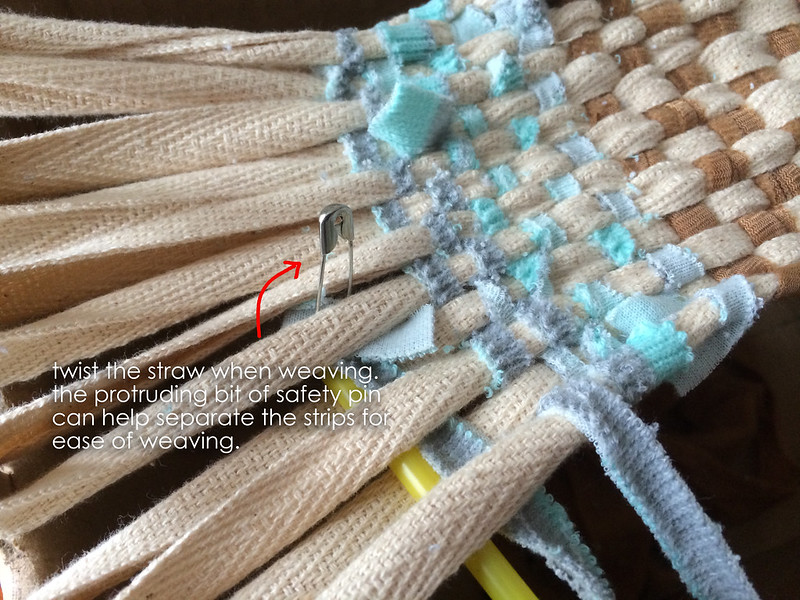
- Weave through the backing by turning the stick as you move along. The protruding bit of the safety pin can help separate the backing strips during the weaving.
- Unlike other previous DIY crafts we shared, this will definitely take more than 1 session for kiddo to finish up the lot of weaving. It will also get frustrating for when kiddo misses a step in between the “overs” and “unders”. So constant encouragement is definitely essential.
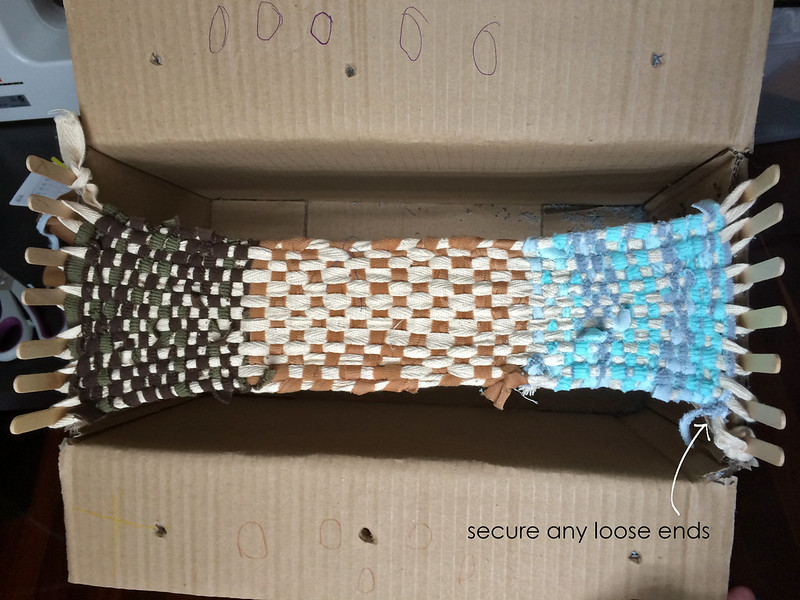
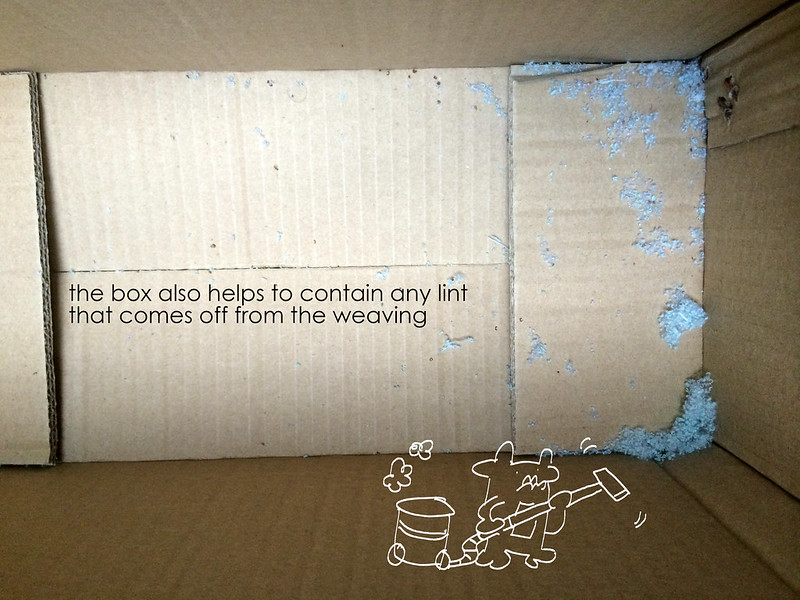
- Finally, after a few days…..
- Let’s not forget that the lint needs to be cleared away before starting on another weave.
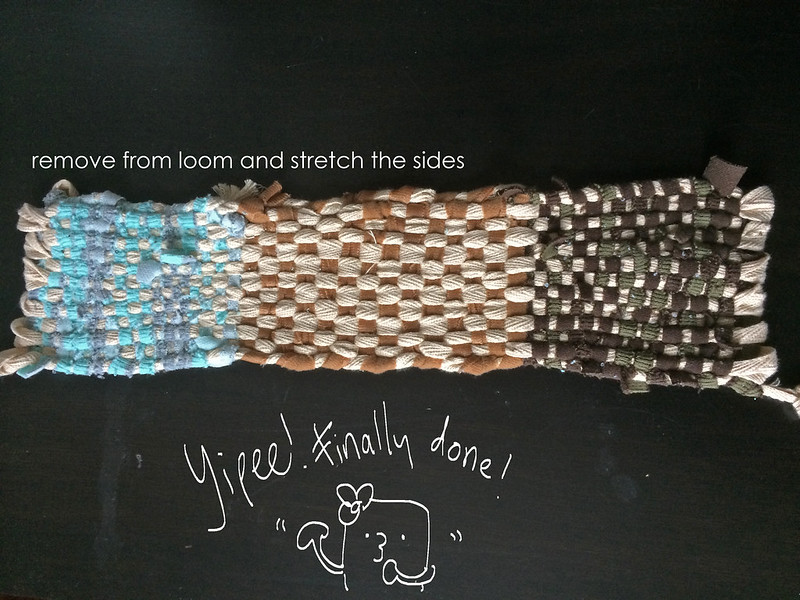
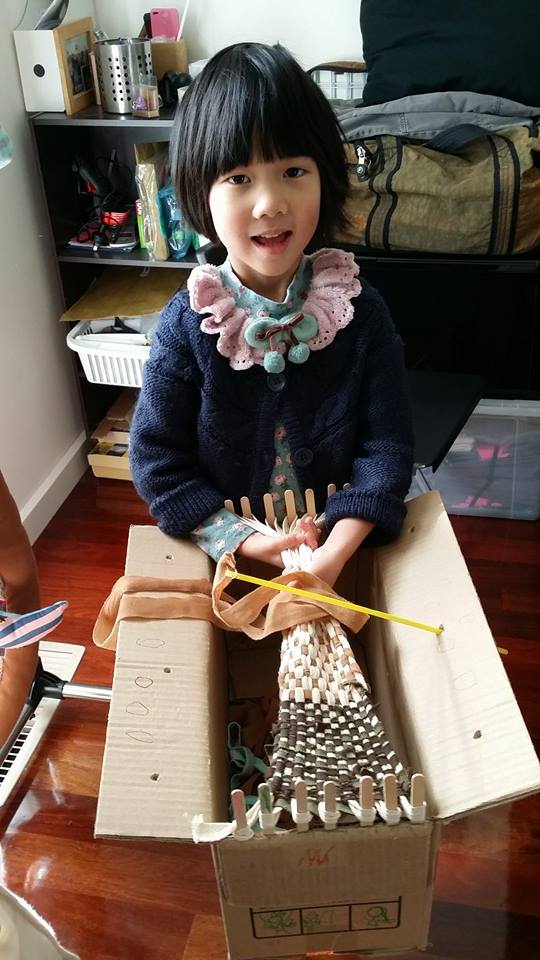
- Kiddo is thrilled to finally complete (part-of) her rug. Since it’s such a small piece, BBM suggests that they work on a couple of pieces before sewing them all up to make a rug for her room.
- Feel free to share with BBM your ideas for using the final product on BBM’s facebook page! 🙂